
I always knew, even before having a child, that come birthday time...I would have trouble controlling my excitement in planning it!
I'm sure every mama feels this way and especially when it comes to the big O....N....E; and naturally, with your first.
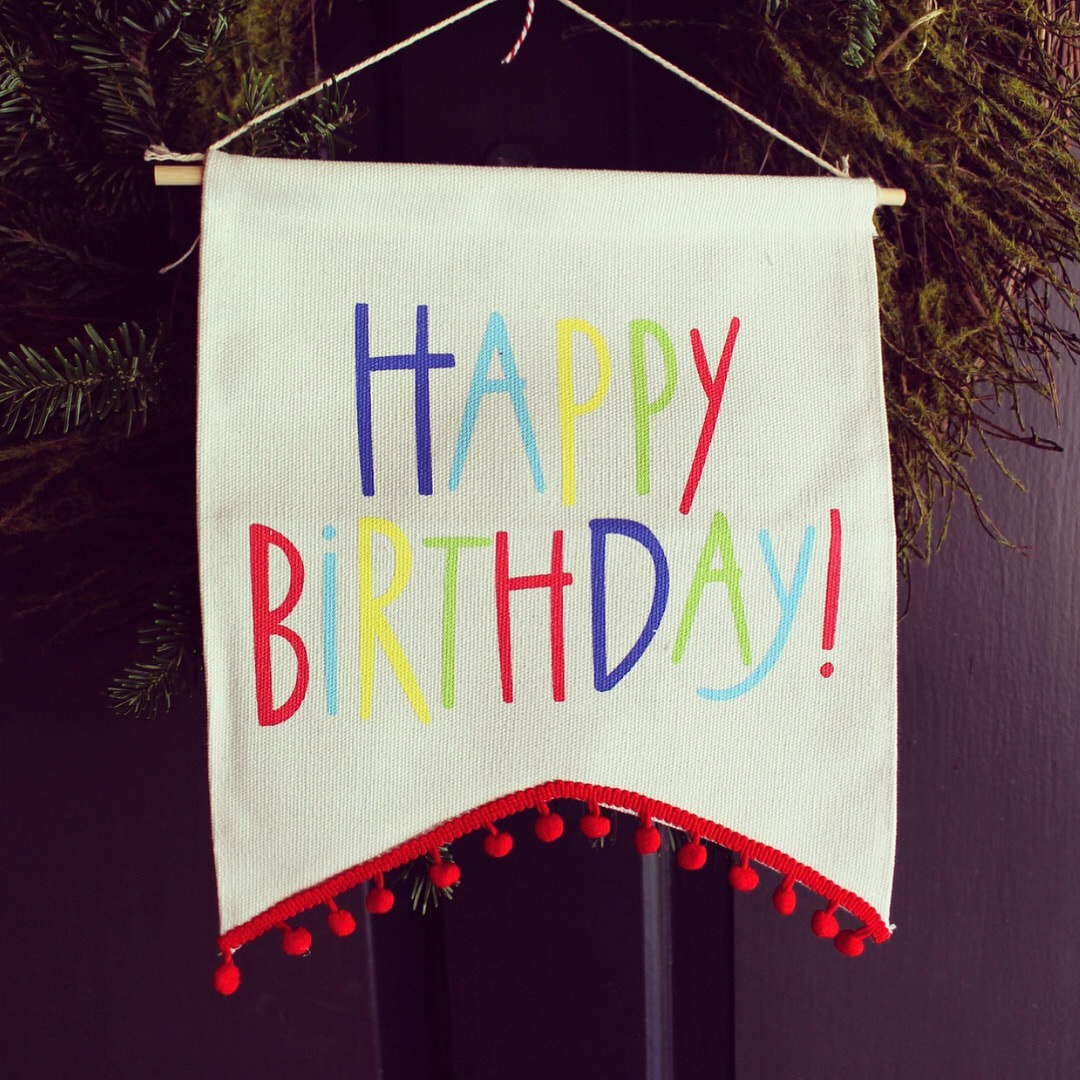
Low and behold, perusing the dollar section of Target (always welcoming you so kindly at the entrance!...) with my then, probably 7 month old, I come across an adorable little pendant hanging sign that read Happy Birthday in somewhat primary colors. I'm not sure I was even quite thinking about his birthday at the time, however, this simple little sign triggered the motor and the wheels started spinning. So, I buy the little sign, completely against my intuition, the whole time thinking to myself,
"Chelsea...you can make this sign!" -- I buy it anyways.
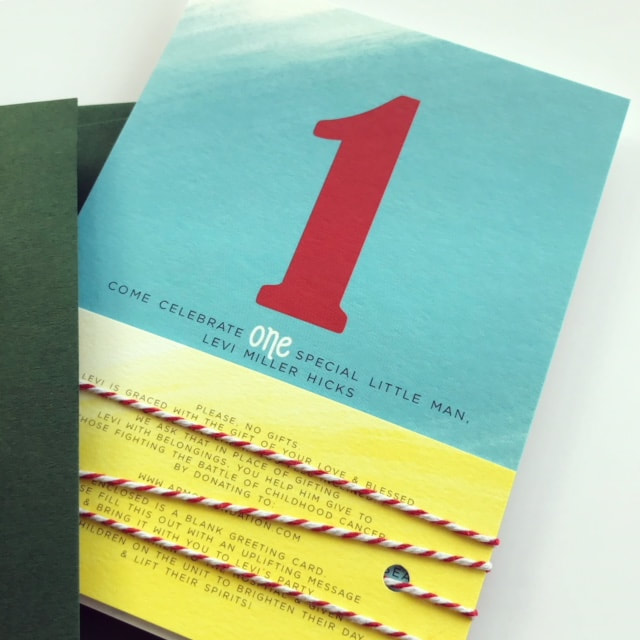
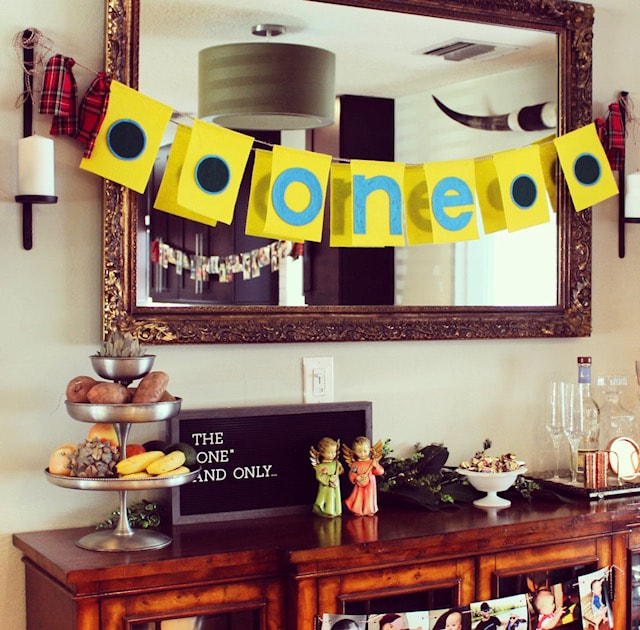
Now, I'm not really a "theme" kind of gal. I think it's very cute and for some occasions...very appropriate. However, I personally will always base any and every decorative aspect of my life and especially event planning off of color scheme first and foremost. I was immediately attracted to the little sign in Target primarily for the colors and the sweet pom pom trim. So, in the back of my mind, I set those as the colors that I would somewhat incorporate and build off of. I'm no expert, so don't take advice from me - but personally, I like to take colors, a pattern, something that you love and are inspired by decoratively, to build the entire design off of for an occasion. I think I apply this to even decorating for the holidays! It wasn't until I found a tartan plaid pattern with similar colors to the sign that I officially said "yep, there it is!" His birthday is December 3rd, so this was the perfect tribute to the Holiday Season, complementing the light holiday decor that I had already placed around the house, but not making it too too terribly "Christmasy".
After solidifying colors, and being delightfully inspired by the sweet plaid pattern -- invitation design was now in full swing.
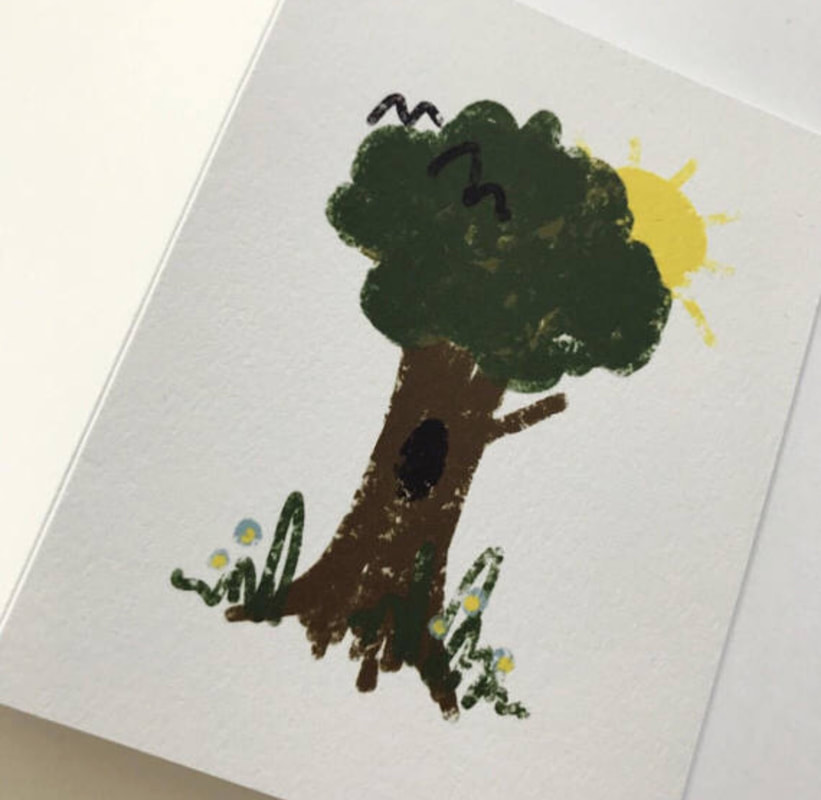
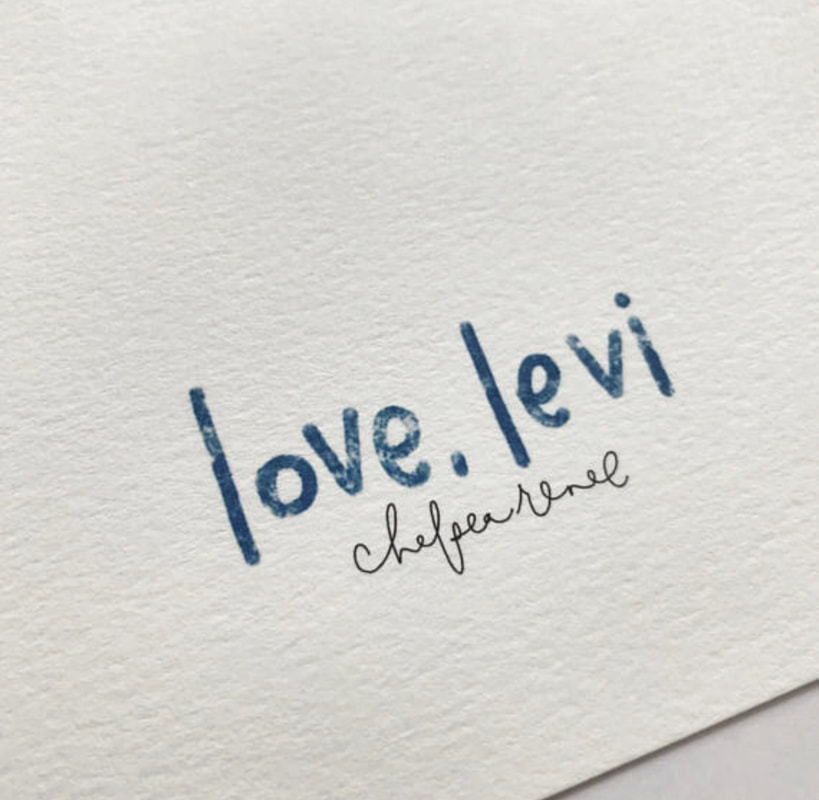
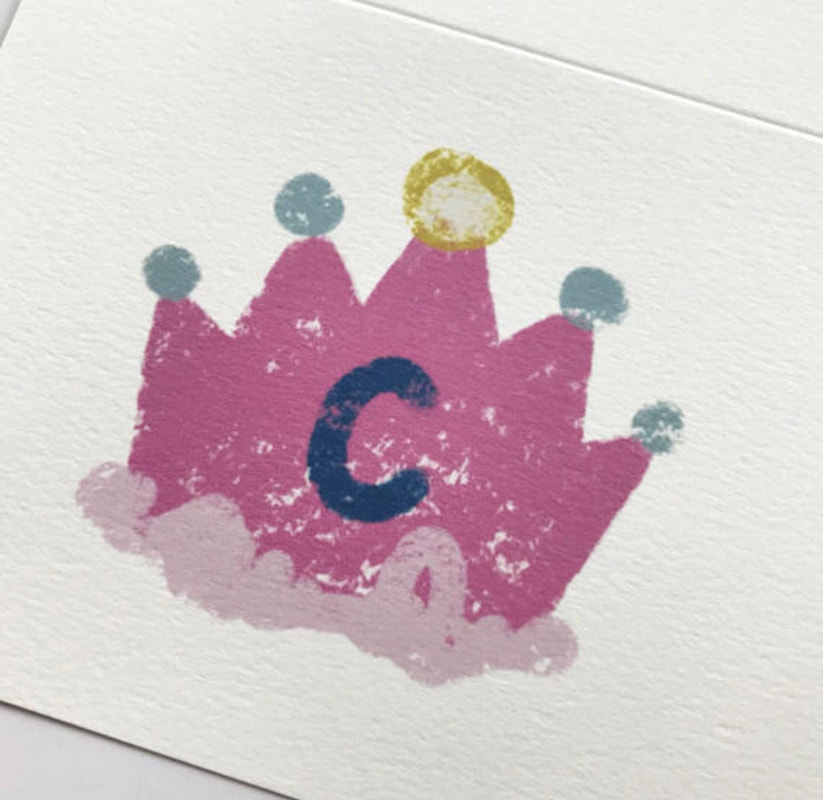
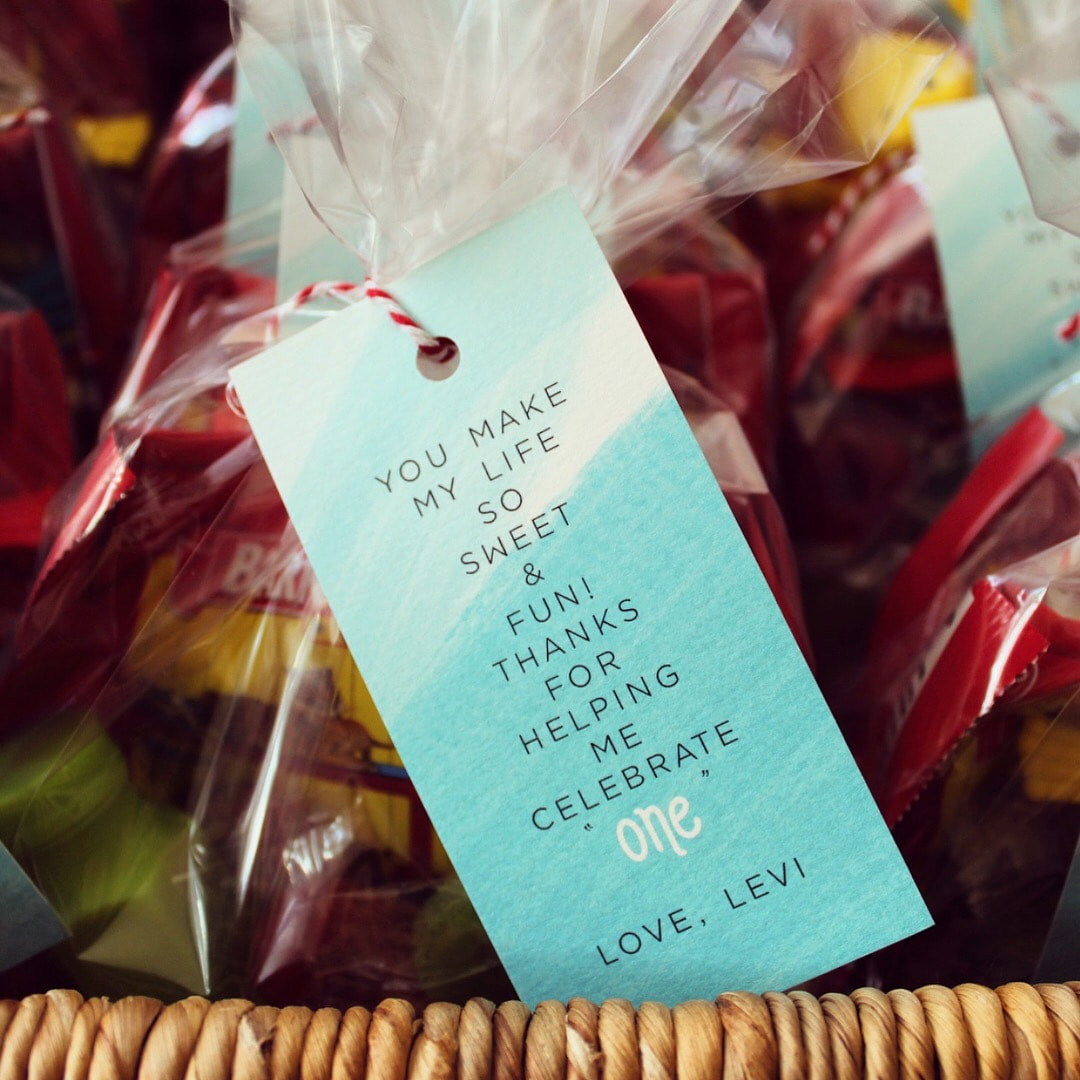
I knew that in addition to the design I had in my mind, I wanted to incorporate some way to tastefully ask people to give rather than bring a gift if they felt inclined. Levi is a healthy, blessed little boy, and there are many out there experiencing less fortunate circumstances. Then I thought, well, that's not always something people feel comfortable doing, so why don't I do something in addition to that which everyone will want to participate in, and we can still touch some lives in some little way. So I decided to design several different card designs that littles ones would love. I would then attach one to each invitation so that people could write a message and they could be delivered to the children at the hospital in hopes of uplifting their spirit; through whatever it is that they are facing. I created the designs for the greeting cards on my Apple iPad Pro with the Apple Pencil and the “crayon” effect - to make it look as though little Levi drew the pictures. I designed a little logo for the back of each card reading “Love, Levi” - hoping to one day soon establish that as a line of children’s cards. (I also used the Pro to create the painted background of the invitation and information insert). With all of that said and done, invitations were pretty much complete - - I pulled the hunter green color out of the plaid with the envelopes and finished the entire look off by tying the set together with red and white baker’s twine.
I'm sure every mama feels this way and especially when it comes to the big O....N....E; and naturally, with your first.
Low and behold, perusing the dollar section of Target (always welcoming you so kindly at the entrance!...) with my then, probably 7 month old, I come across an adorable little pendant hanging sign that read Happy Birthday in somewhat primary colors. I'm not sure I was even quite thinking about his birthday at the time, however, this simple little sign triggered the motor and the wheels started spinning. So, I buy the little sign, completely against my intuition, the whole time thinking to myself,
"Chelsea...you can make this sign!" -- I buy it anyways.
Now, I'm not really a "theme" kind of gal. I think it's very cute and for some occasions...very appropriate. However, I personally will always base any and every decorative aspect of my life and especially event planning off of color scheme first and foremost. I was immediately attracted to the little sign in Target primarily for the colors and the sweet pom pom trim. So, in the back of my mind, I set those as the colors that I would somewhat incorporate and build off of. I'm no expert, so don't take advice from me - but personally, I like to take colors, a pattern, something that you love and are inspired by decoratively, to build the entire design off of for an occasion. I think I apply this to even decorating for the holidays! It wasn't until I found a tartan plaid pattern with similar colors to the sign that I officially said "yep, there it is!" His birthday is December 3rd, so this was the perfect tribute to the Holiday Season, complementing the light holiday decor that I had already placed around the house, but not making it too too terribly "Christmasy".
After solidifying colors, and being delightfully inspired by the sweet plaid pattern -- invitation design was now in full swing.
I knew that in addition to the design I had in my mind, I wanted to incorporate some way to tastefully ask people to give rather than bring a gift if they felt inclined. Levi is a healthy, blessed little boy, and there are many out there experiencing less fortunate circumstances. Then I thought, well, that's not always something people feel comfortable doing, so why don't I do something in addition to that which everyone will want to participate in, and we can still touch some lives in some little way. So I decided to design several different card designs that littles ones would love. I would then attach one to each invitation so that people could write a message and they could be delivered to the children at the hospital in hopes of uplifting their spirit; through whatever it is that they are facing. I created the designs for the greeting cards on my Apple iPad Pro with the Apple Pencil and the “crayon” effect - to make it look as though little Levi drew the pictures. I designed a little logo for the back of each card reading “Love, Levi” - hoping to one day soon establish that as a line of children’s cards. (I also used the Pro to create the painted background of the invitation and information insert). With all of that said and done, invitations were pretty much complete - - I pulled the hunter green color out of the plaid with the envelopes and finished the entire look off by tying the set together with red and white baker’s twine.


I'm not a real overly anal, organized person...by any stretch of the imagination. However, when it comes to creatively planning something, you've never quite seen a list
of thoughts built so quickly - - with a stack of detailed sketches to accompany those lists...visually explaining them! That...is how my brain works.
I have a thought, it gets written down. To express it...I draw a picture!
One of my first thoughts with the party: a photo-op board.
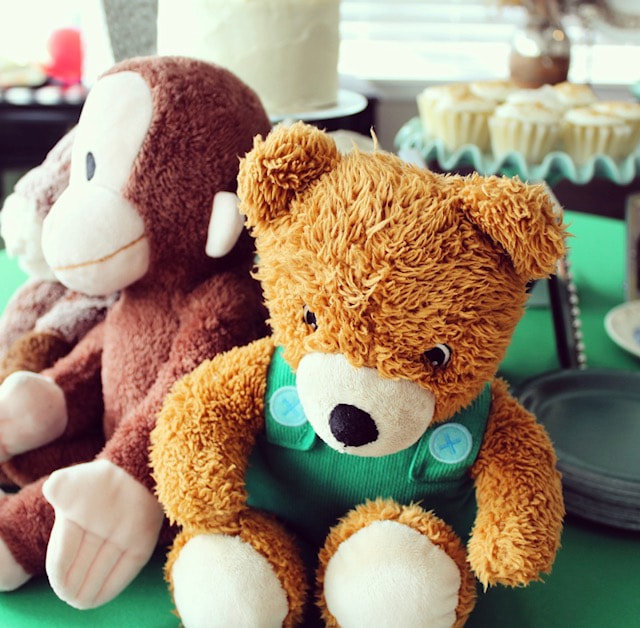
I knew it was something I wanted and right away, I knew exactly how I was going to create it. I wanted to make it something that the littles would be able to walk up to and put their own faces in without help from Mom or Dad, and to have something painted around the face holes to catch their attention. I'd used the chalk sheets from Home Depot in the past to make chalk signs, so we knew the material we were using, and went ahead and cut the three holes out with a jigsaw. In my originally sketch, I had three little children on the board...then it evolved to whimsical little monsters...until I finally had the epiphany to use Levi's three best animal friends. From a very early age, Levi had the sweet sensitivity to hug and love on his stuffed animals. His Curious George, Curduroy the bear, and a horse we named "Horace", quickly became his "tribe". And the amazing inspiration for our photo-op board! Using just a simple craft paint to paint them.
The only remaining detail to the photo-op board that I knew I wanted to incorporate was a balloon swag in one of the corners. Which I had seen so many times in inspiration pictures, and always loved, but was so afraid to attempt. I read tutorial after tutorial, and finally the night before the party...there I am stringing together balloons into little bunches with fishing line. Not sure that was the complete way any of the tutorials advised me to do it, but I had fishing line in my husband's tackle box, and a sewing needle from my mother...so that's how that thing was going down! I assured myself I would adhere the balloon bunches to the board with double sided tape and all would be fine.
Sure enough...they did just fine!
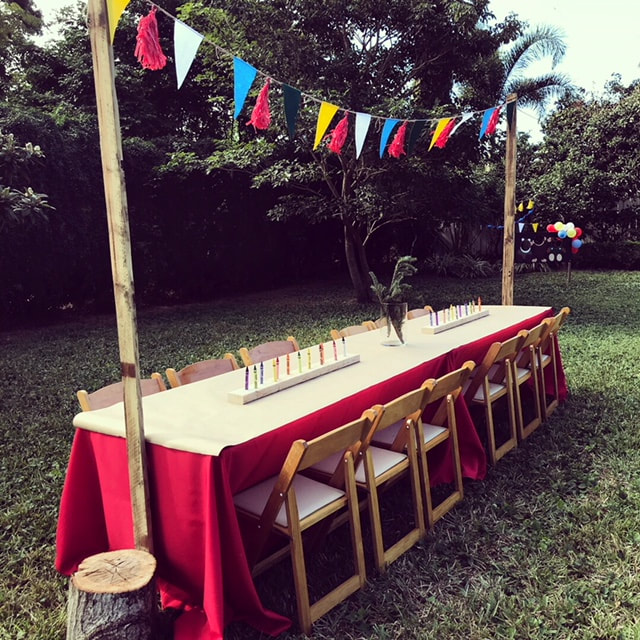
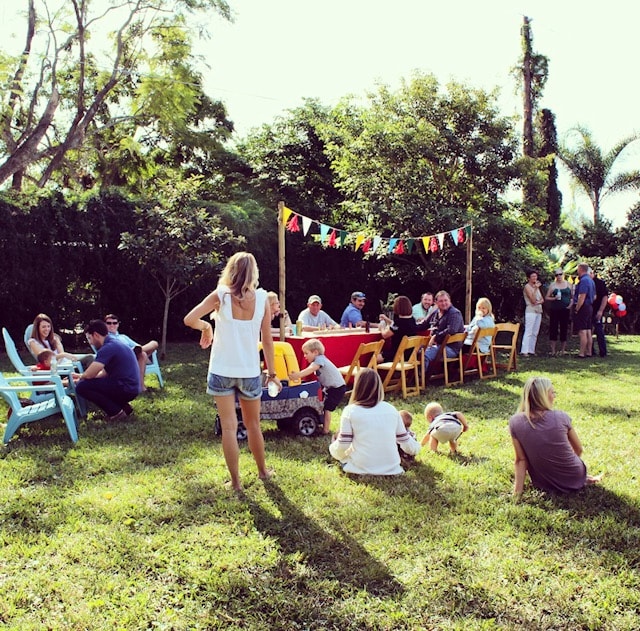
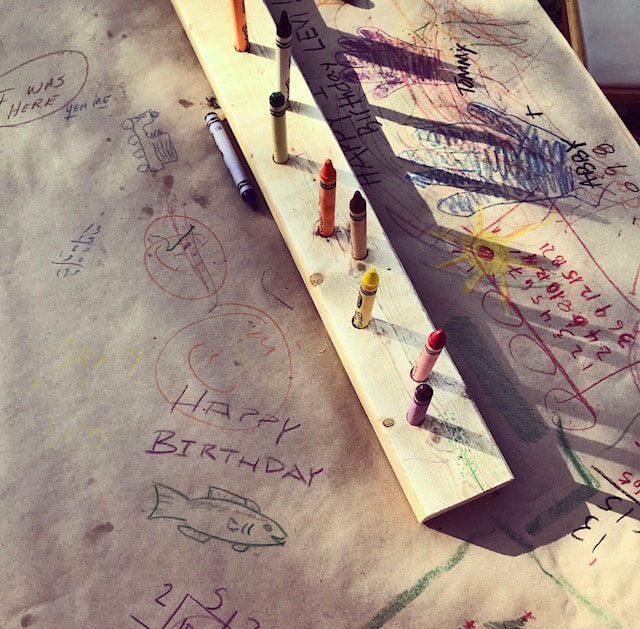
One of the other major "sketched" elements of the party was the outside table. I knew I wanted a long rectangular table, with a banner strung from one end to the other and to cover that table in kraft paper, incorporating some sort of crayon display to use as the centerpieces. At first I wanted large cubes with holes drilled to place each jumbo crayon in, but we ended with the final design of two 2x4 boards (one for each rectangular table) with large holes that my husband used a drill press to create, scattered along them for the crayons to set in.
Come the day before the party...my husband was loathing me for this table design! I had it all sketched out...what was the big problem? There I am bossing him around
as to how long I wanted the reclaimed wood he had cut for the end pieces of the table to hold the banner and that I wanted them put down into a hole in the ground at each end -- receiving look after look telling me in not so many words: "is this necessary!?" He kept advising me to forget the banner...we don't even need it.
...ha! Let me repeat...HA!
Men!
My husband knew very well that that would not be the case. In no way would I ever let this go. So, he hammered those big ol long boards down into the ground at each end of the rectangular tables, and we braced them between the table and a large tree stump on each end. ...tada!! We all survived.
I had him drill a hole through the top of each board, so that I could string the jute/baker's twine through, securely hanging the banner.
I carried the kraft paper look through the decor in the house as well, covering our kitchen island/table with it and placing the food atop that. I also incorporated the plaid pattern and a splash of Christmas tree trimmings into the table centerpiece as well.
of thoughts built so quickly - - with a stack of detailed sketches to accompany those lists...visually explaining them! That...is how my brain works.
I have a thought, it gets written down. To express it...I draw a picture!
One of my first thoughts with the party: a photo-op board.
I knew it was something I wanted and right away, I knew exactly how I was going to create it. I wanted to make it something that the littles would be able to walk up to and put their own faces in without help from Mom or Dad, and to have something painted around the face holes to catch their attention. I'd used the chalk sheets from Home Depot in the past to make chalk signs, so we knew the material we were using, and went ahead and cut the three holes out with a jigsaw. In my originally sketch, I had three little children on the board...then it evolved to whimsical little monsters...until I finally had the epiphany to use Levi's three best animal friends. From a very early age, Levi had the sweet sensitivity to hug and love on his stuffed animals. His Curious George, Curduroy the bear, and a horse we named "Horace", quickly became his "tribe". And the amazing inspiration for our photo-op board! Using just a simple craft paint to paint them.
The only remaining detail to the photo-op board that I knew I wanted to incorporate was a balloon swag in one of the corners. Which I had seen so many times in inspiration pictures, and always loved, but was so afraid to attempt. I read tutorial after tutorial, and finally the night before the party...there I am stringing together balloons into little bunches with fishing line. Not sure that was the complete way any of the tutorials advised me to do it, but I had fishing line in my husband's tackle box, and a sewing needle from my mother...so that's how that thing was going down! I assured myself I would adhere the balloon bunches to the board with double sided tape and all would be fine.
Sure enough...they did just fine!
One of the other major "sketched" elements of the party was the outside table. I knew I wanted a long rectangular table, with a banner strung from one end to the other and to cover that table in kraft paper, incorporating some sort of crayon display to use as the centerpieces. At first I wanted large cubes with holes drilled to place each jumbo crayon in, but we ended with the final design of two 2x4 boards (one for each rectangular table) with large holes that my husband used a drill press to create, scattered along them for the crayons to set in.
Come the day before the party...my husband was loathing me for this table design! I had it all sketched out...what was the big problem? There I am bossing him around
as to how long I wanted the reclaimed wood he had cut for the end pieces of the table to hold the banner and that I wanted them put down into a hole in the ground at each end -- receiving look after look telling me in not so many words: "is this necessary!?" He kept advising me to forget the banner...we don't even need it.
...ha! Let me repeat...HA!
Men!
My husband knew very well that that would not be the case. In no way would I ever let this go. So, he hammered those big ol long boards down into the ground at each end of the rectangular tables, and we braced them between the table and a large tree stump on each end. ...tada!! We all survived.
I had him drill a hole through the top of each board, so that I could string the jute/baker's twine through, securely hanging the banner.
I carried the kraft paper look through the decor in the house as well, covering our kitchen island/table with it and placing the food atop that. I also incorporated the plaid pattern and a splash of Christmas tree trimmings into the table centerpiece as well.


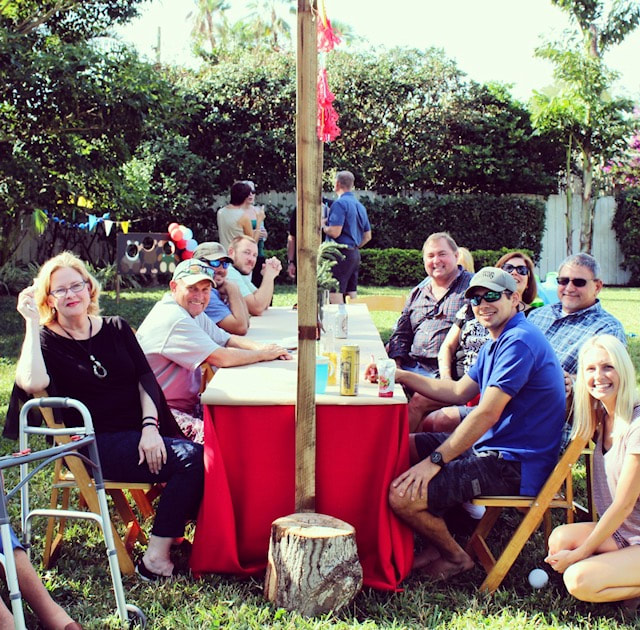

All in all...it was such a special day!
Our little man was surrounded by all of his incredible loved ones, successfully celebrating his first year of life and the wonderful little boy that he is!!
Definitely cannot ask for more than that. So blessed.
xo
CRH
Our little man was surrounded by all of his incredible loved ones, successfully celebrating his first year of life and the wonderful little boy that he is!!
Definitely cannot ask for more than that. So blessed.
xo
CRH